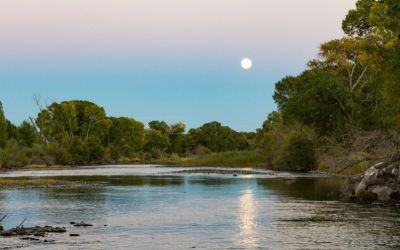
The Majestic San Luis Valley has a way of demanding fresh perspectives from life. After taking one step in the largest alpine valley in the world you’ll likely sense why that is. It’s the raw mixture of ancient history, southwest culture, and dramatic yet diverse landscapes that challenges any photographer who readies their viewfinder. There’s so much to see, and yet it’s hard to capture a single scene in one image. Why is it so challenging?
A million dollar shot is not just a pretty landscape. Sure, we have some of the most incredible scenery in the world, but to us, a million dollar shot brings every unique moment to life.
We’ll dive into the new methodology, first outlined by our friends at Colorado.com
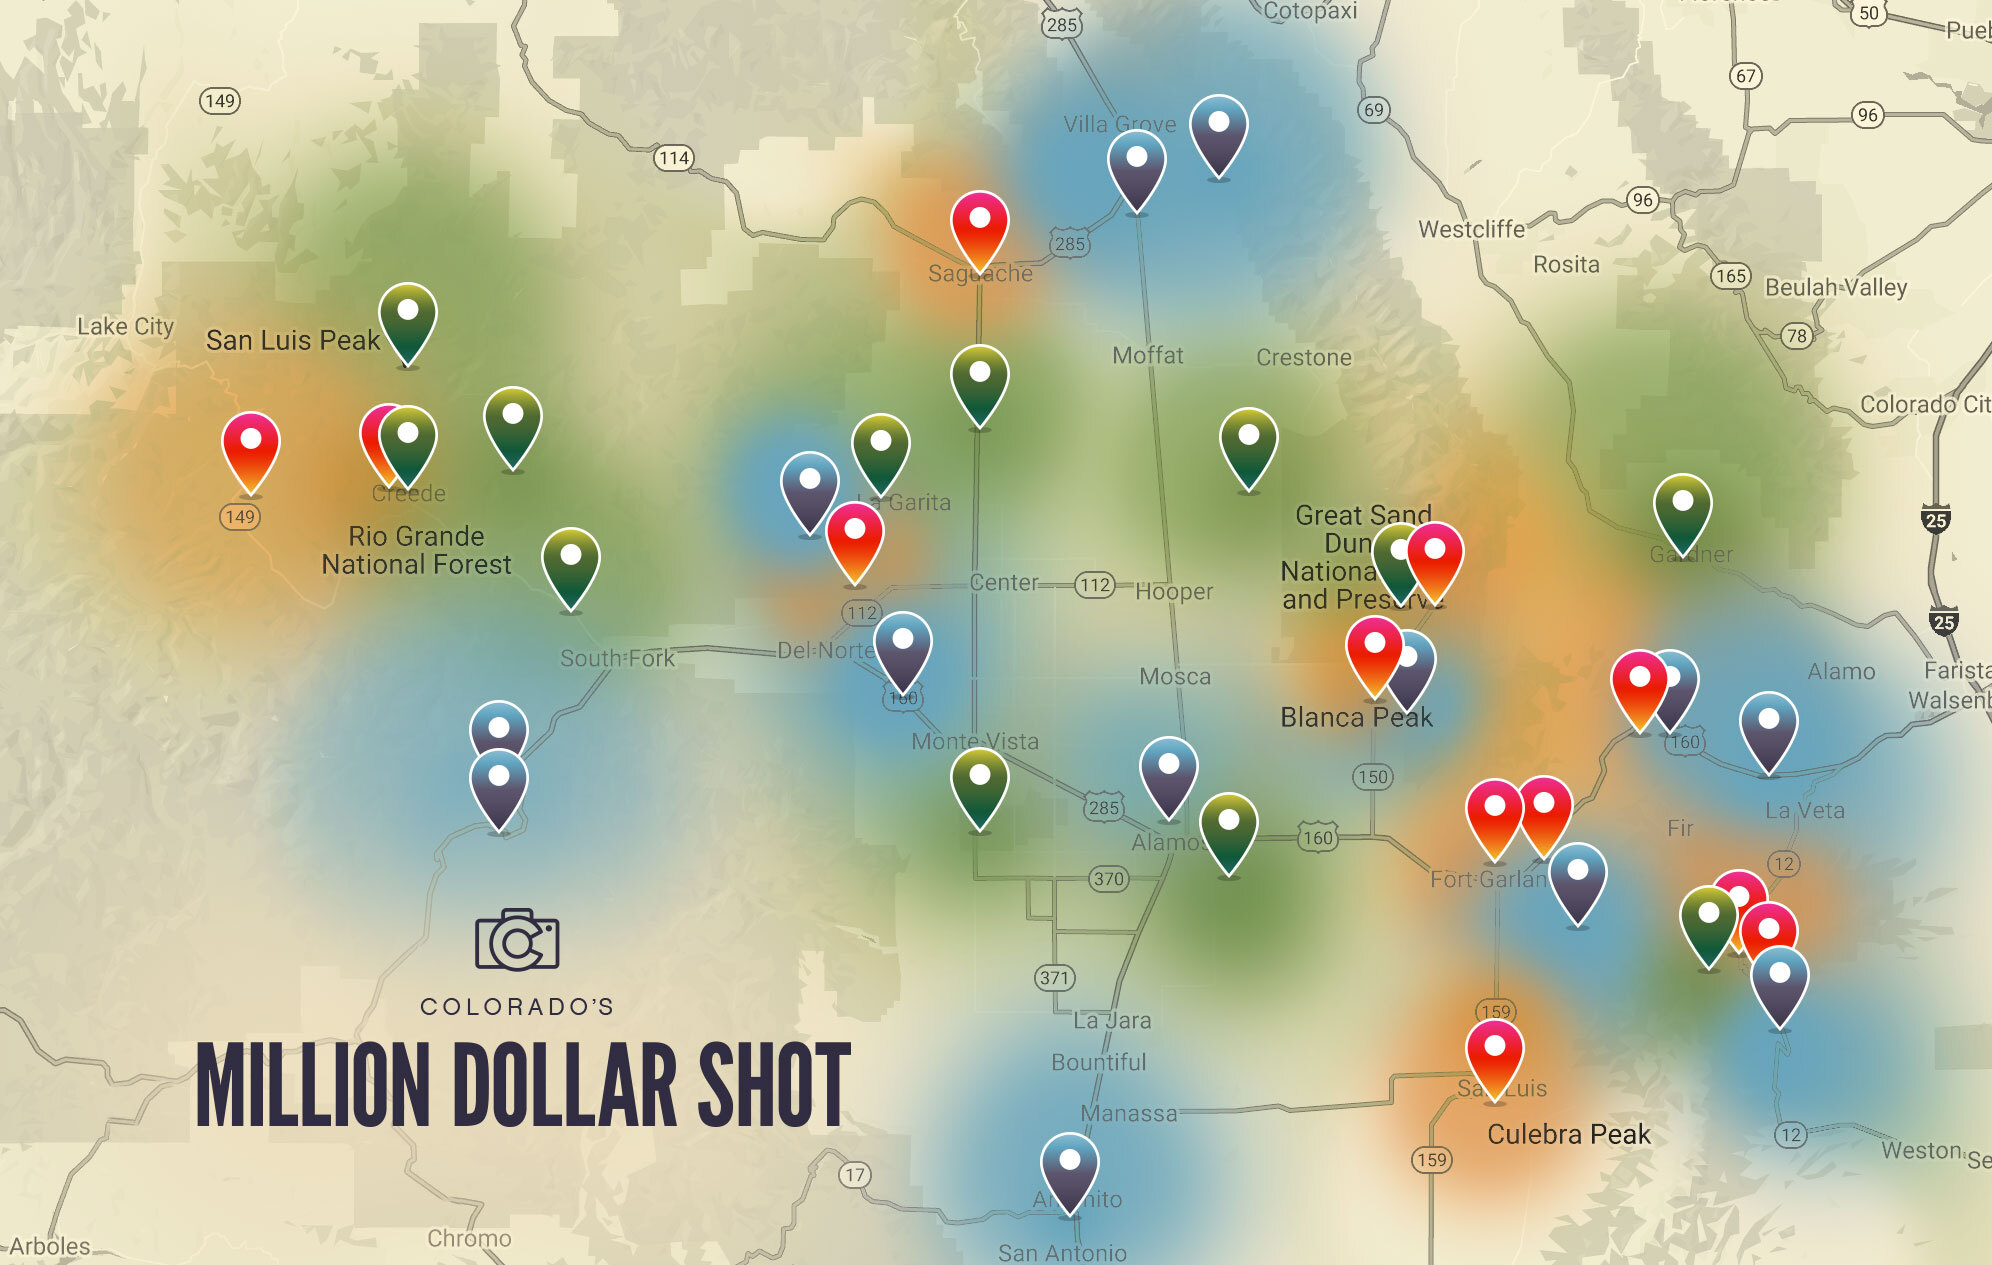 For the best photo locations, use this map.
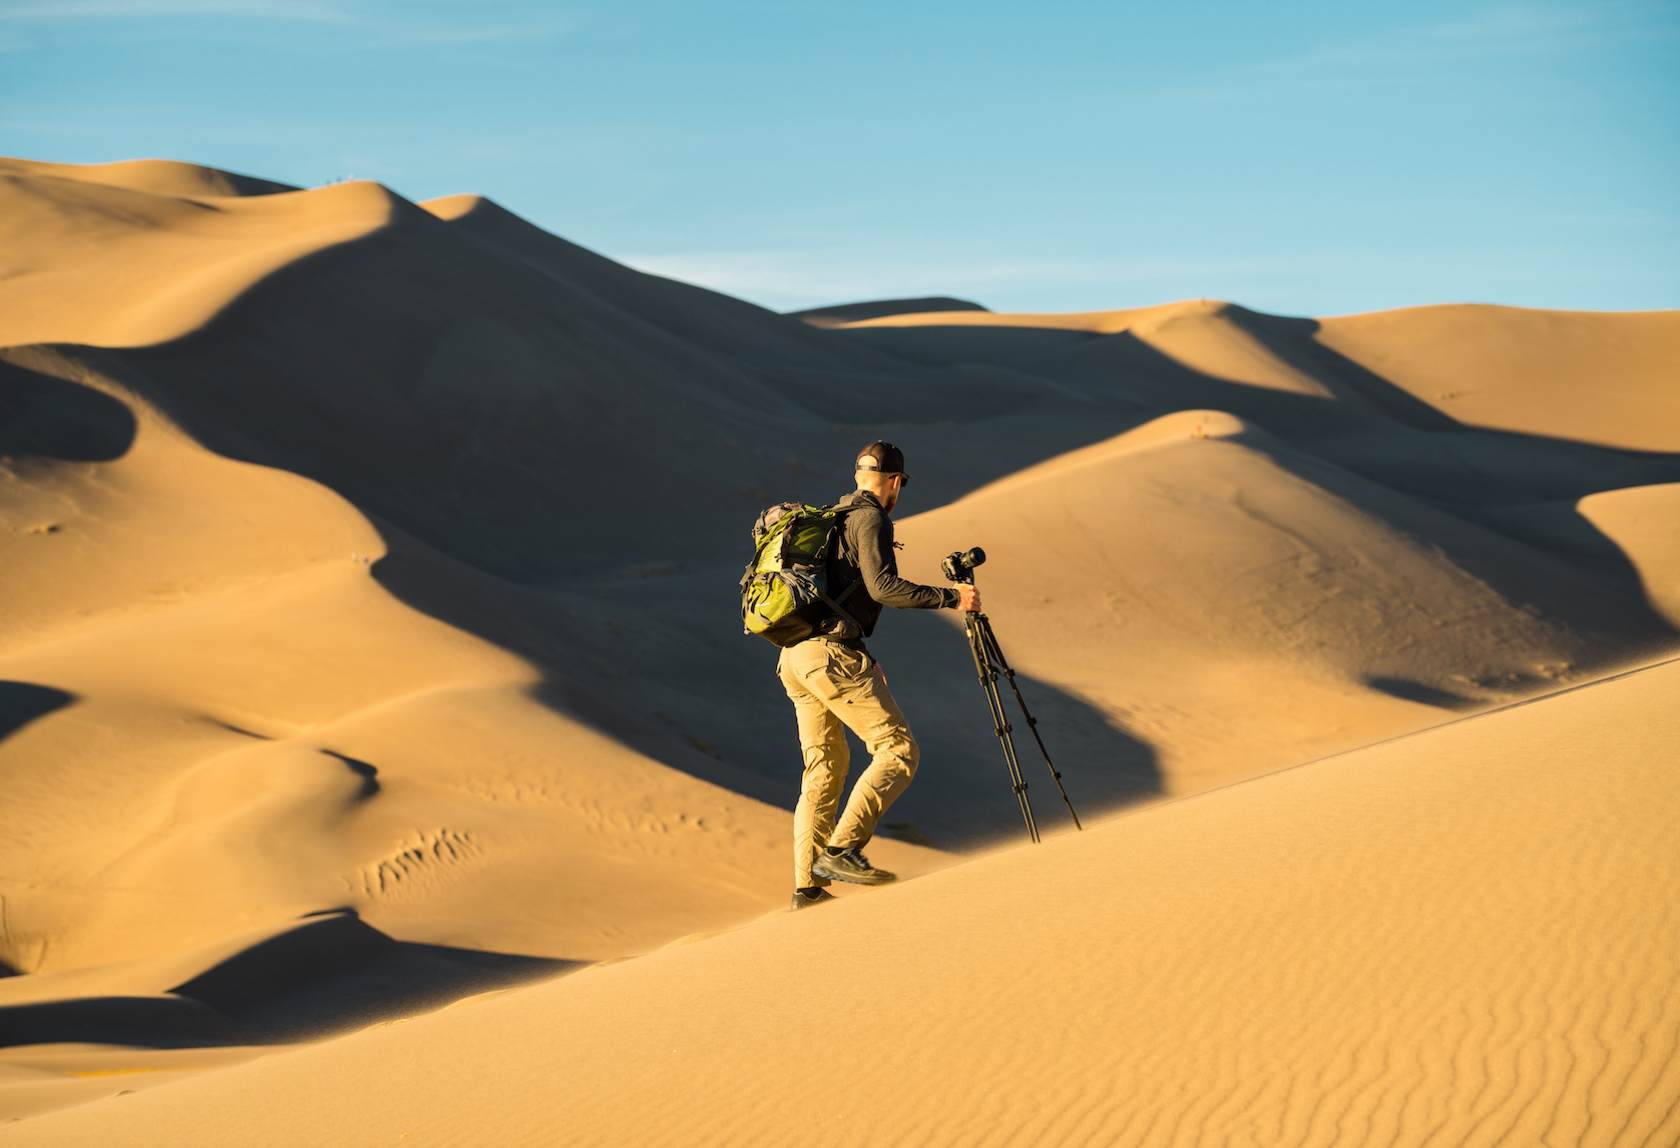
When visiting Colorado there’s an urgency to photograph every impressive vista or landscape as soon as you encounter it. Everyone’s guilty of it, and that’s okay! The “million-dollar” idea we’re suggesting recommends that you hold off on taking your camera out. Take a moment to reel in the excitement of your new subject, appreciate it, and spend some time considering what perspective is the right one for you. After you’ve spent some time here, you’ll be better setup to grab a meaningful photograph that you’ll cherish long after.
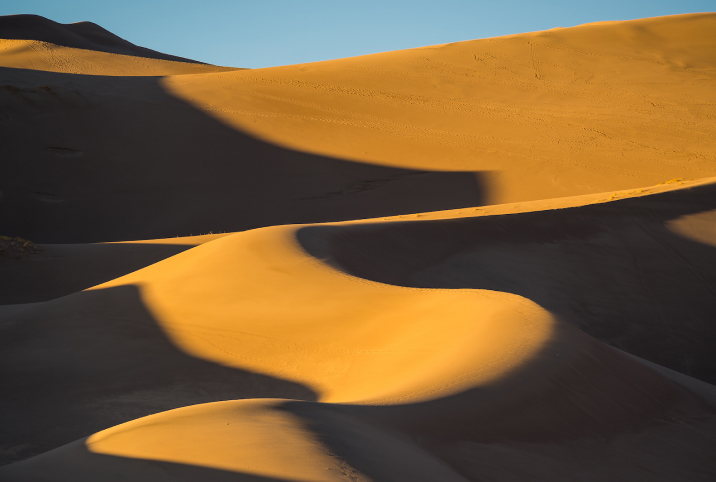
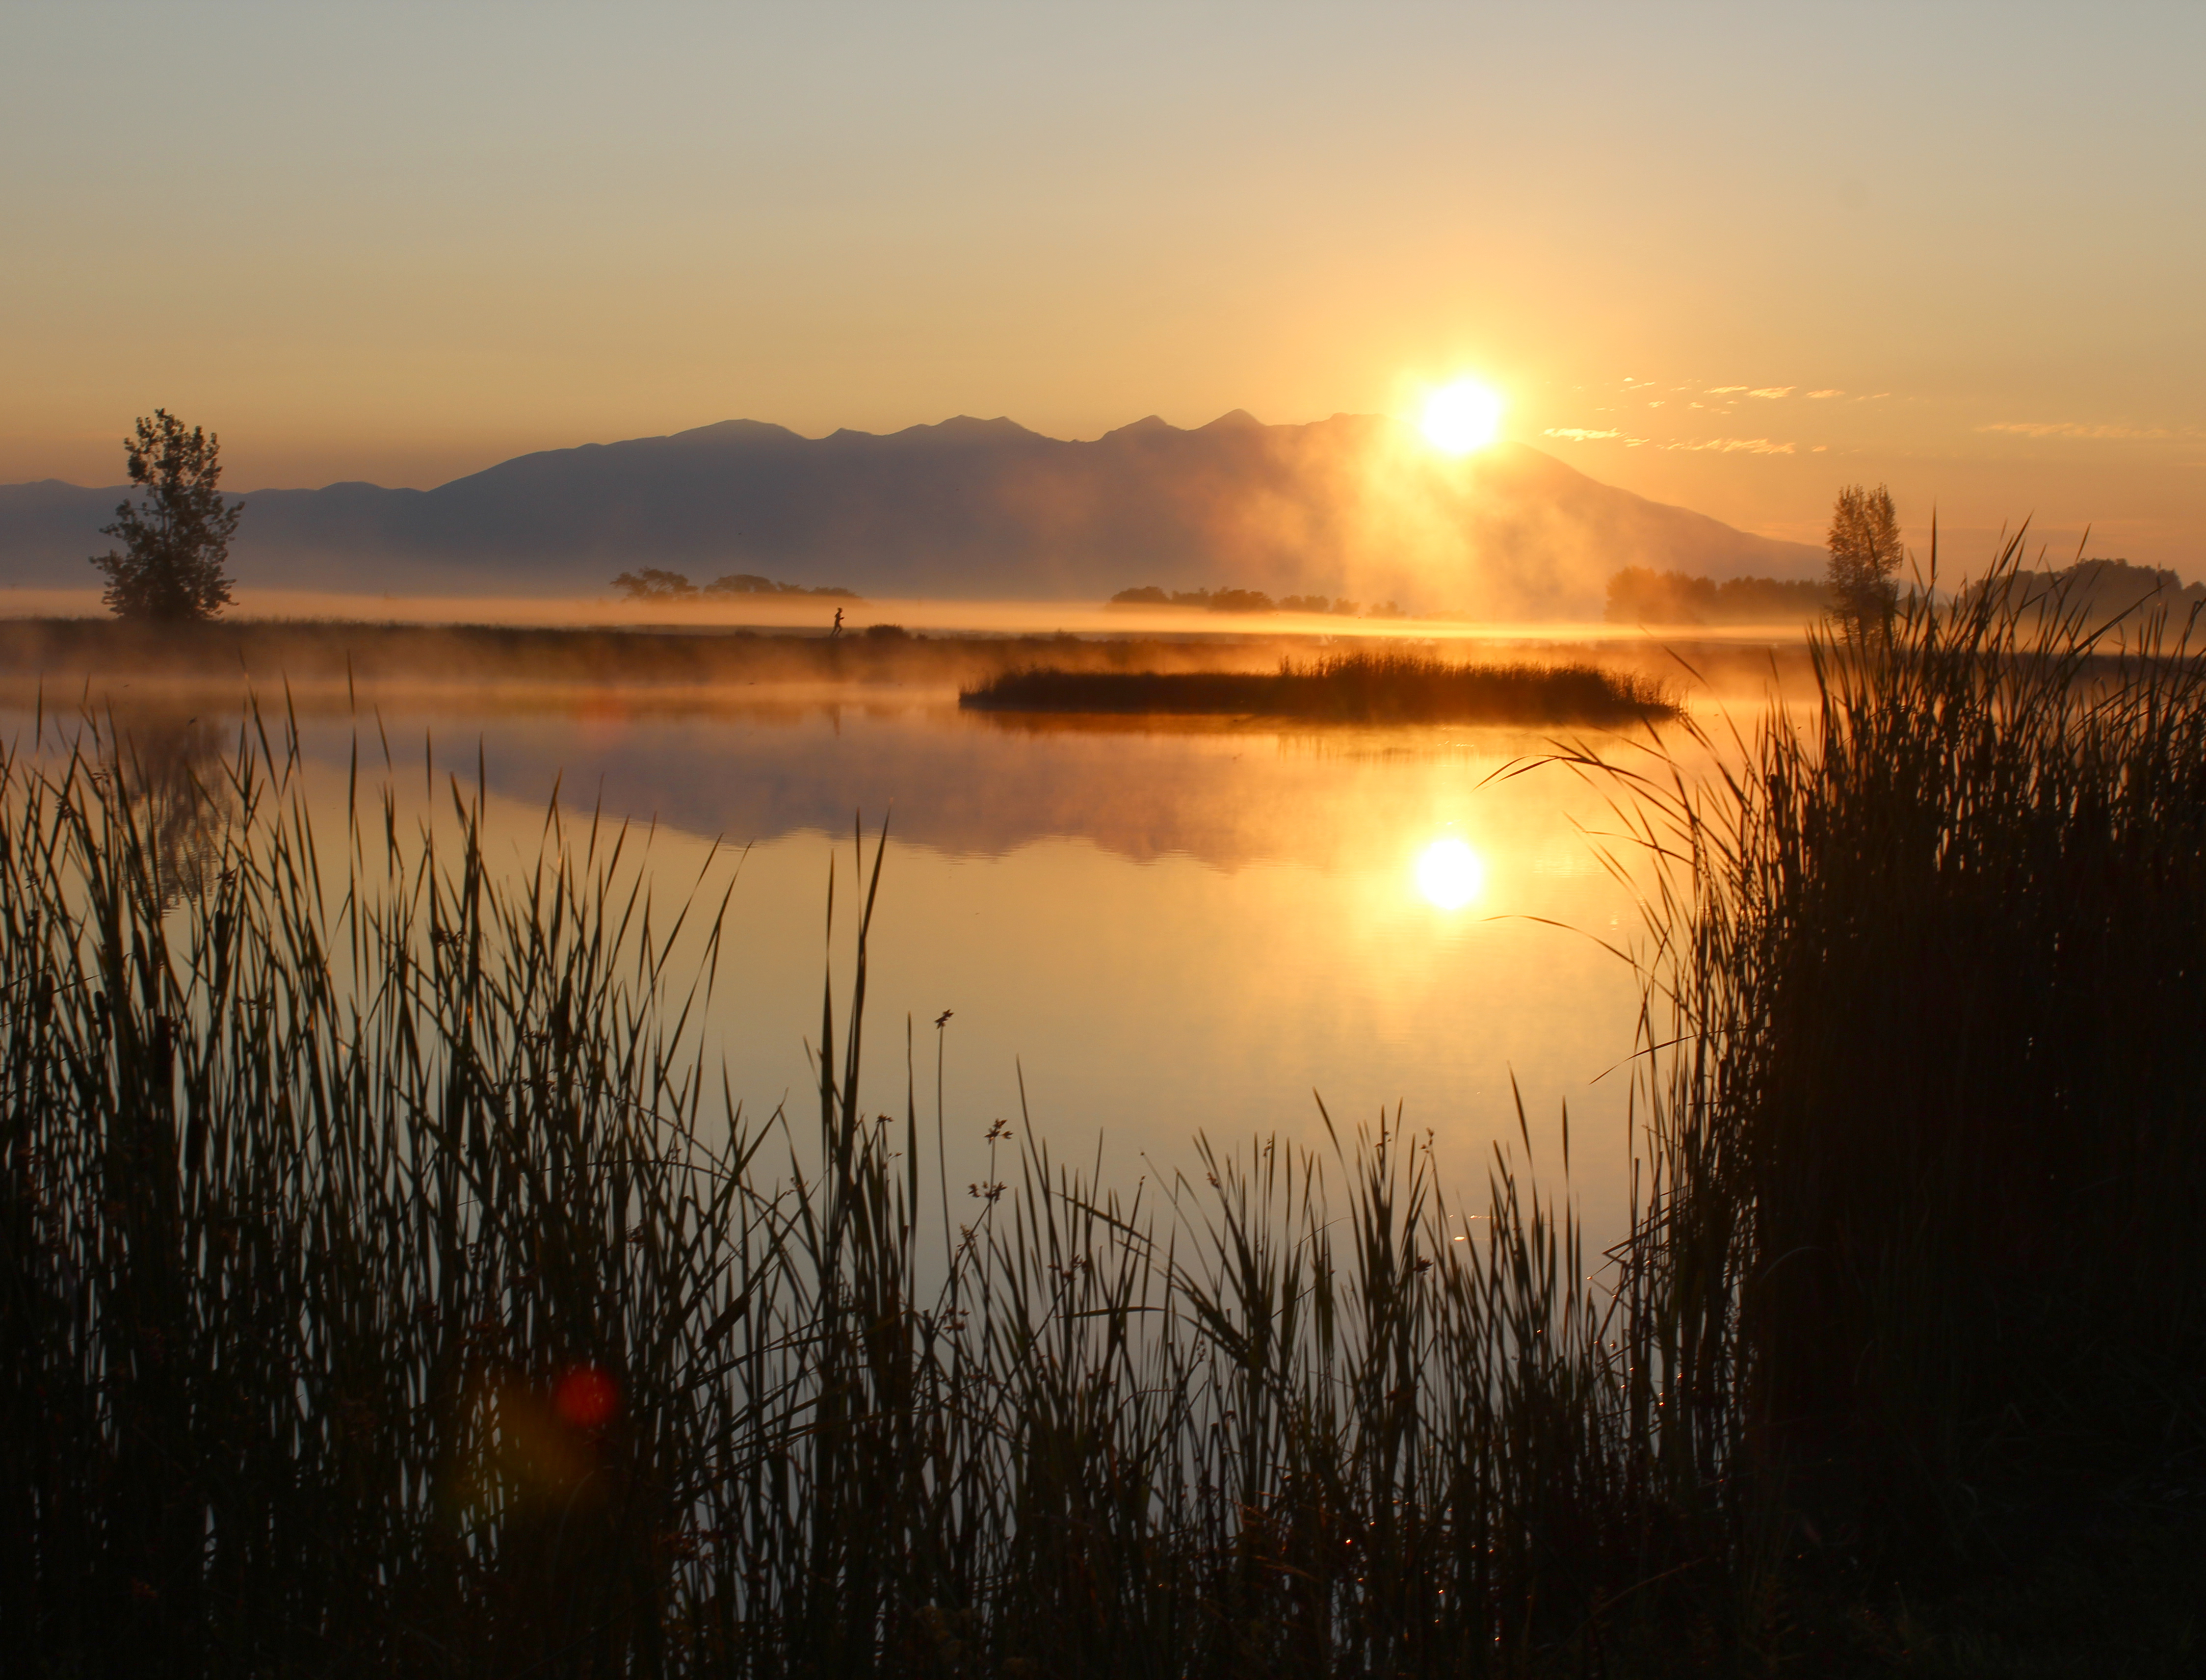
Filter Free Zones are places that are magnificent just the way they are. So much so that adding a filter would only ruin the authentic beauty of the shot. Challenge your skills, manipulate the lighting, be guided by the weather, and let the pure essence of your subjects come forward.
Dig Deeper >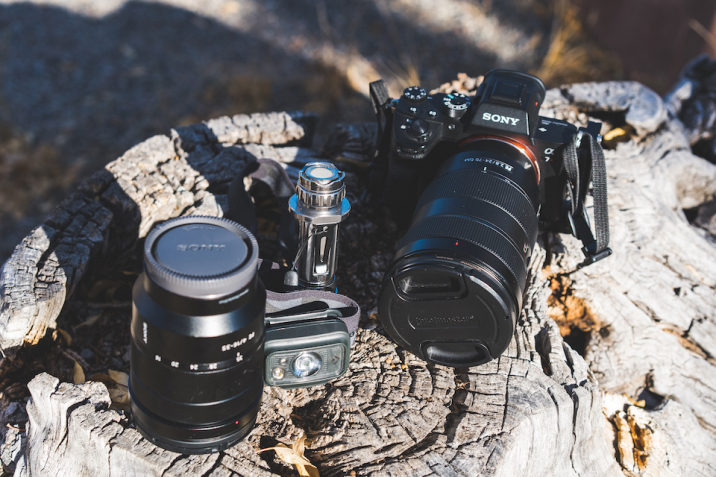
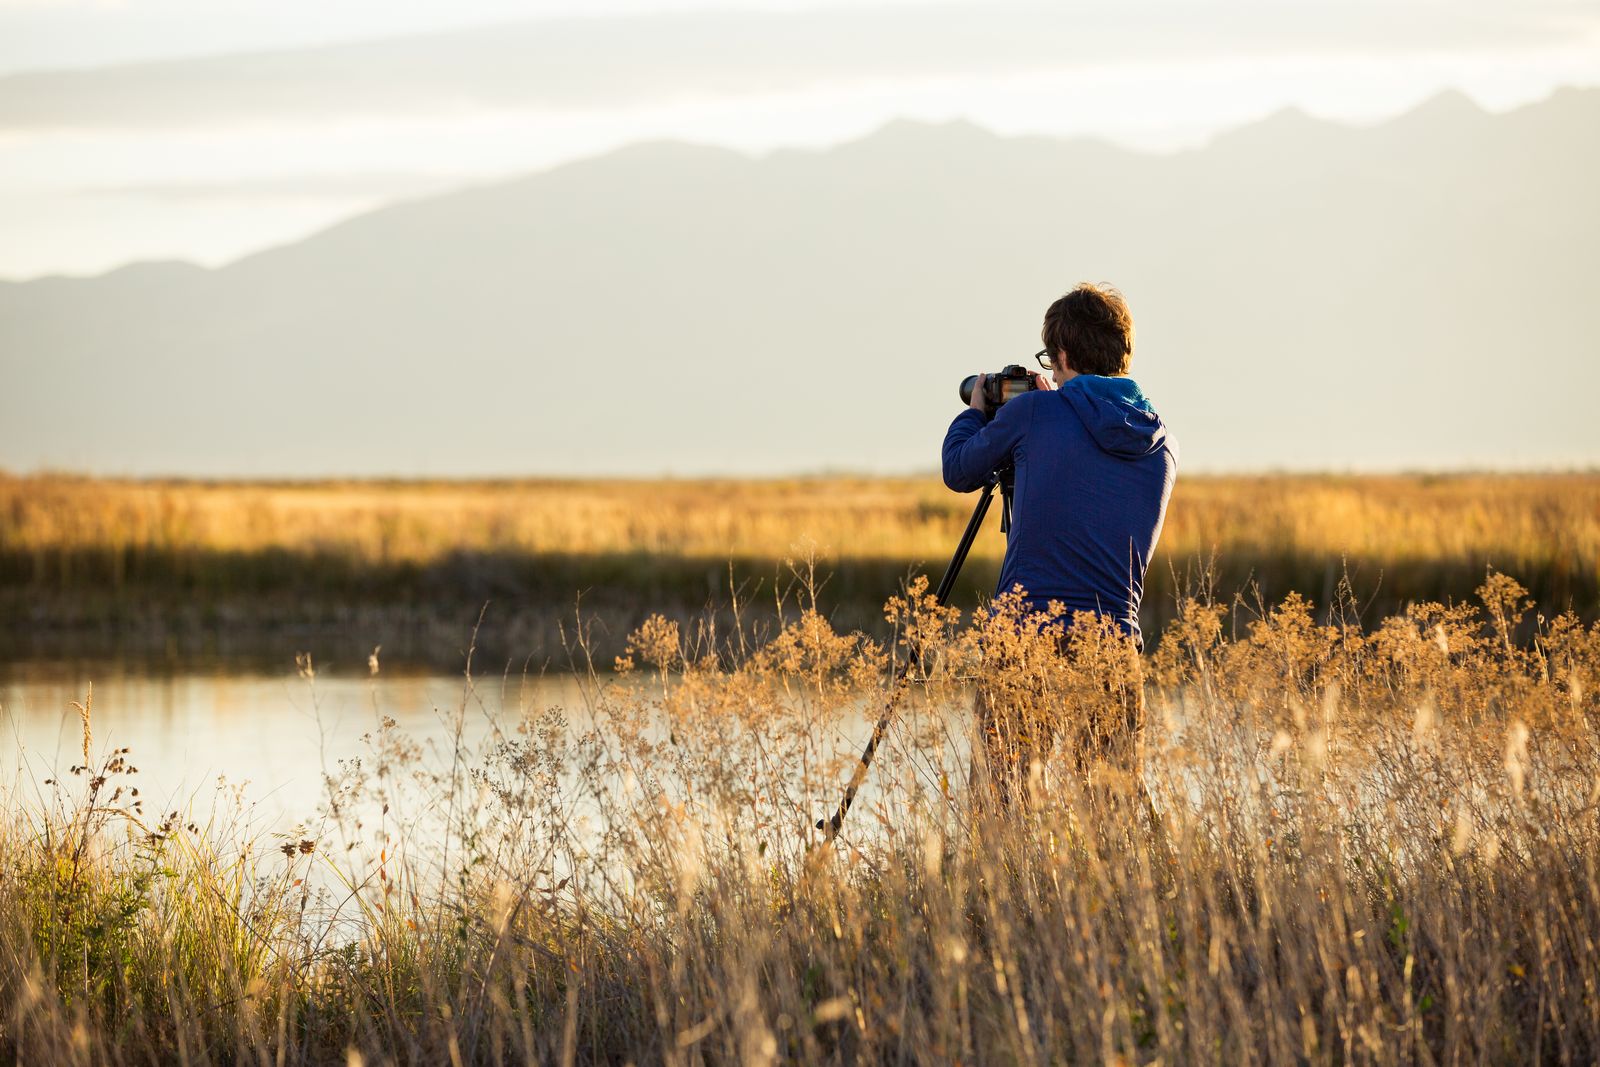
It can be tempting to snap multiple photos from slightly different angles. But in the Shutter Speed Limit Zone, we're asking you to put the camera down for a few minutes and examine the world through your eyes, not a viewfinder. By focusing on quality, not quantity, we believe your photography will be richer and more poignant.
Dig Deeper >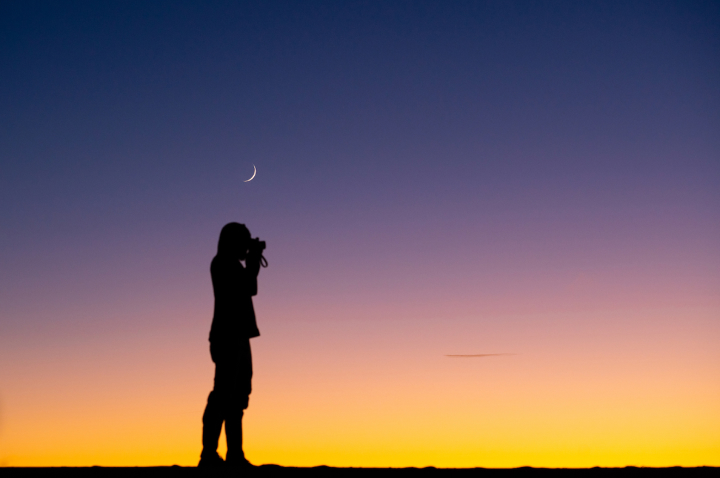
Photo Preserves are spaces where we work together to ensure our photography practices leave no trace. When visiting a preserve, take some time for reflection: how can photography enrich the places we visit? How can you change your travel habits to leave less of an impact?
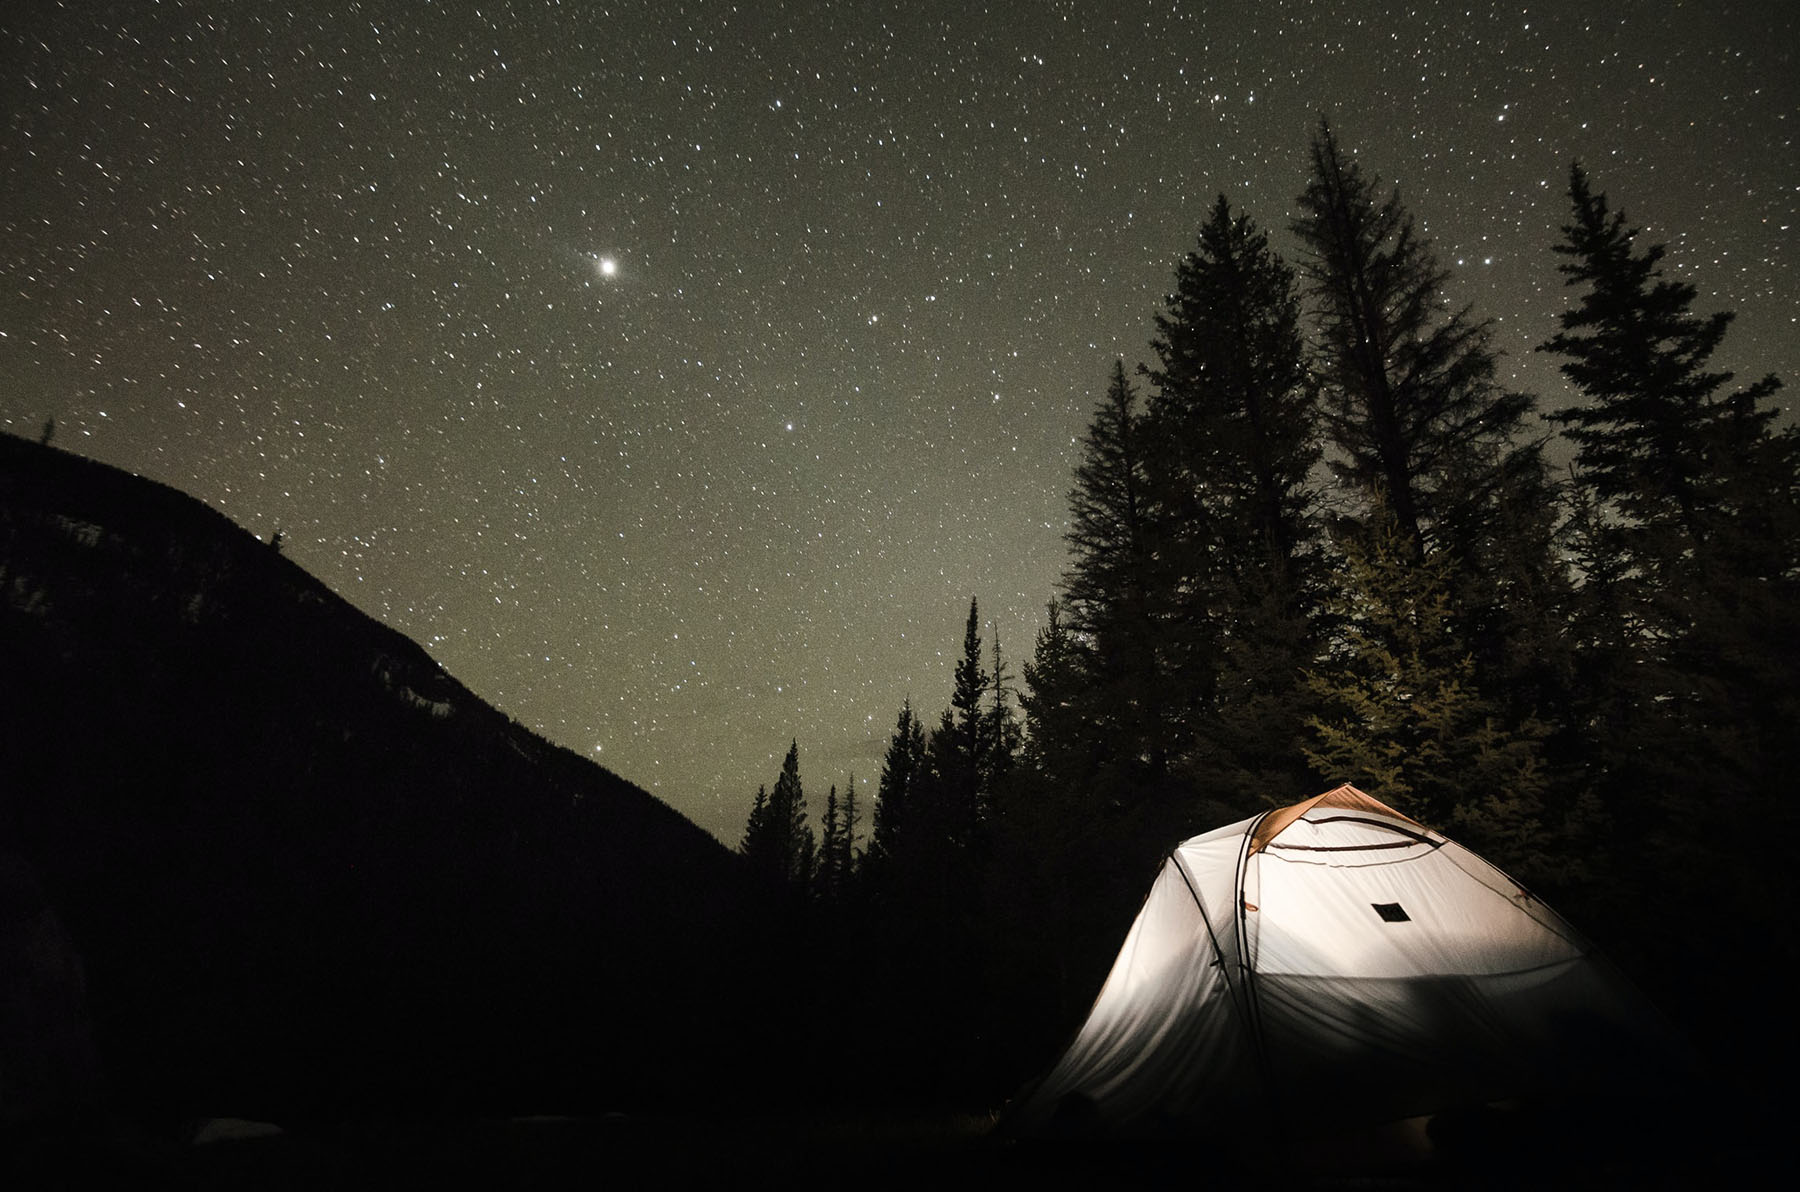
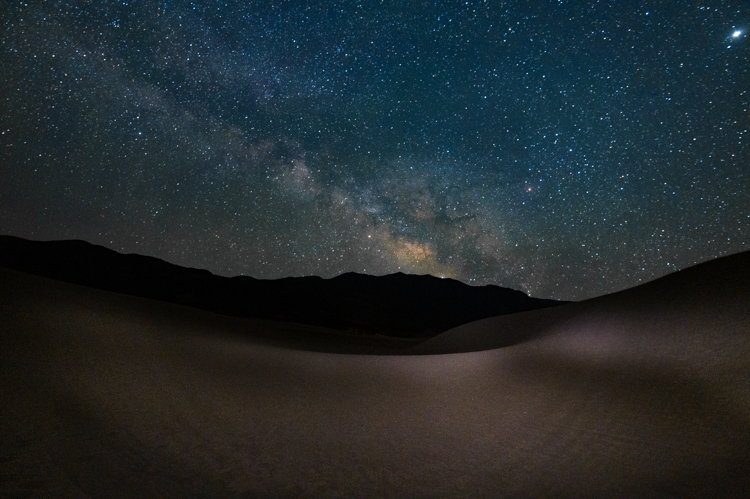
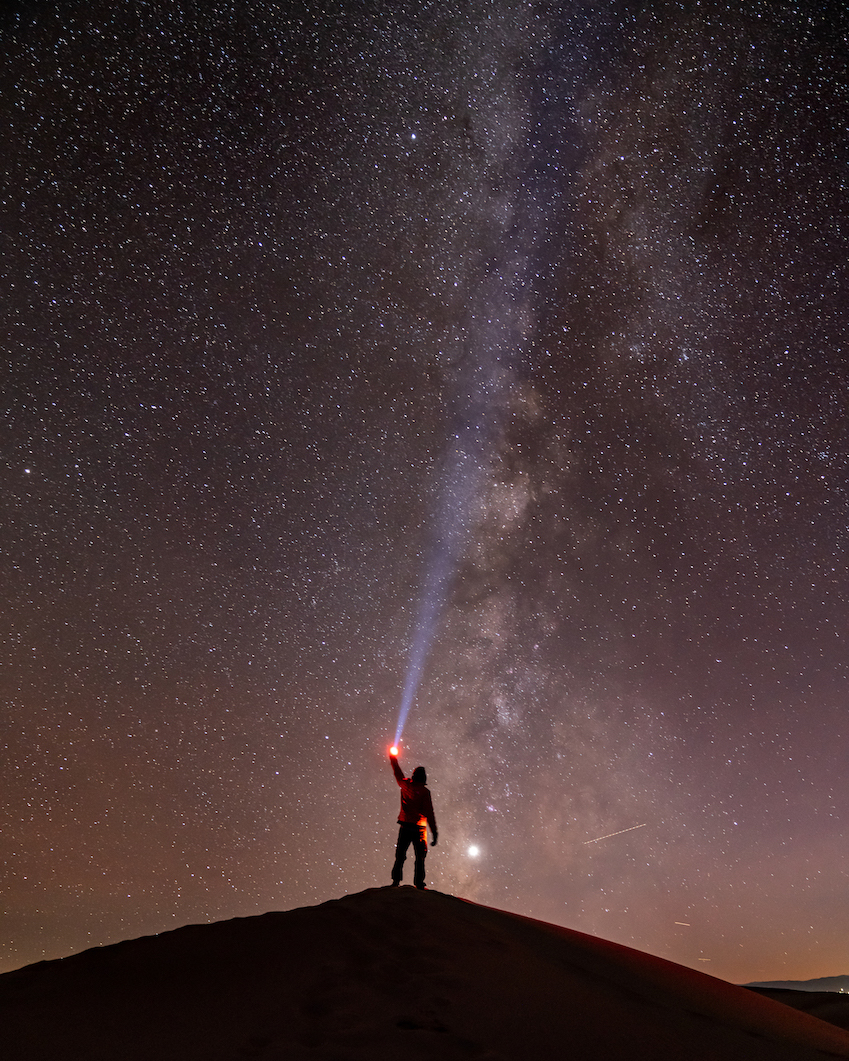
Dig Deeper >Seeing The Majestic San Luis Valley at night is a truly unique experience. You'll have the ability to see the Milky Way, but to the naked eye, it appears as a dull whitish cloud. Cameras, however, must use longer exposure times, to pick up on subtle colors.The sand dunes are full of dynamically changing lighting, biologically diverse landscapes, and grandiose photo subjects, making photographing this scenery difficult. But when it's done right, the results are extraordinary.
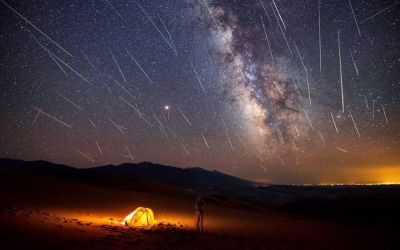
It's important to head out to your location earlier in the day to make a plan for your astrophotography photoshoot. When walking around the dunes, look for interesting features or maybe a place for someone to stand so that you can capture their silhouette under the stars or the Milky Way. Scouting your location during daylight will significantly enhance the quality of your final images and give you a better idea of where you want to go and how you want to line up your compositions. It can be very challenging to try and create successful astrophotography at a location that you've never previously scouted.
Another tool that can be beneficial to bring with you or to pre-scout location is an app called ‘Photo Pills’ which will give you a rating for the Milkyway and also show you which horizon the Milkyway will rise. This app can also be used for shooting the moon, scouting sunsets or sunrises, and a handful of other uses. It’s a great app for photographers who like to get deep into the planning side of astrophotography, the more you plan the better the final result.
Focus Mode:
Set focus mode to manual focus, snap focus on a bright star, or set the lens to your 'sweet spot'—where the majority of the stars in the sky are in view. This is close to the infinity point on most lenses Set white balance to custom, between 3000-4000 (tweak according to your camera body’s colors, can always be adjusted in post-production).
Timer
Always use a two, five, or ten-second timer so you don’t introduce any camera shake after pressing the shutter. When setting your tripod up in the sand, hang your camera backpack or some weight from the base of the tripod to make sure it is sturdy and won’t move during your long exposures.
Starter Camera Settings:
When shooting with a 14-16mm (wide-angle lens) 16mm 25-30” F2.8 or F4 at ISO3200
24mm 25” F2.8 at ISO3200
When shooting with a 50 or 55mm (prime lens) 55mm 9”-13” F1.8 at ISO3200
For the best photography, read more about other's experiences and their tips and tricks to make the most out of your trip.
![]()